Family-Friendly Crafts: 75 Easy Projects by Age Group
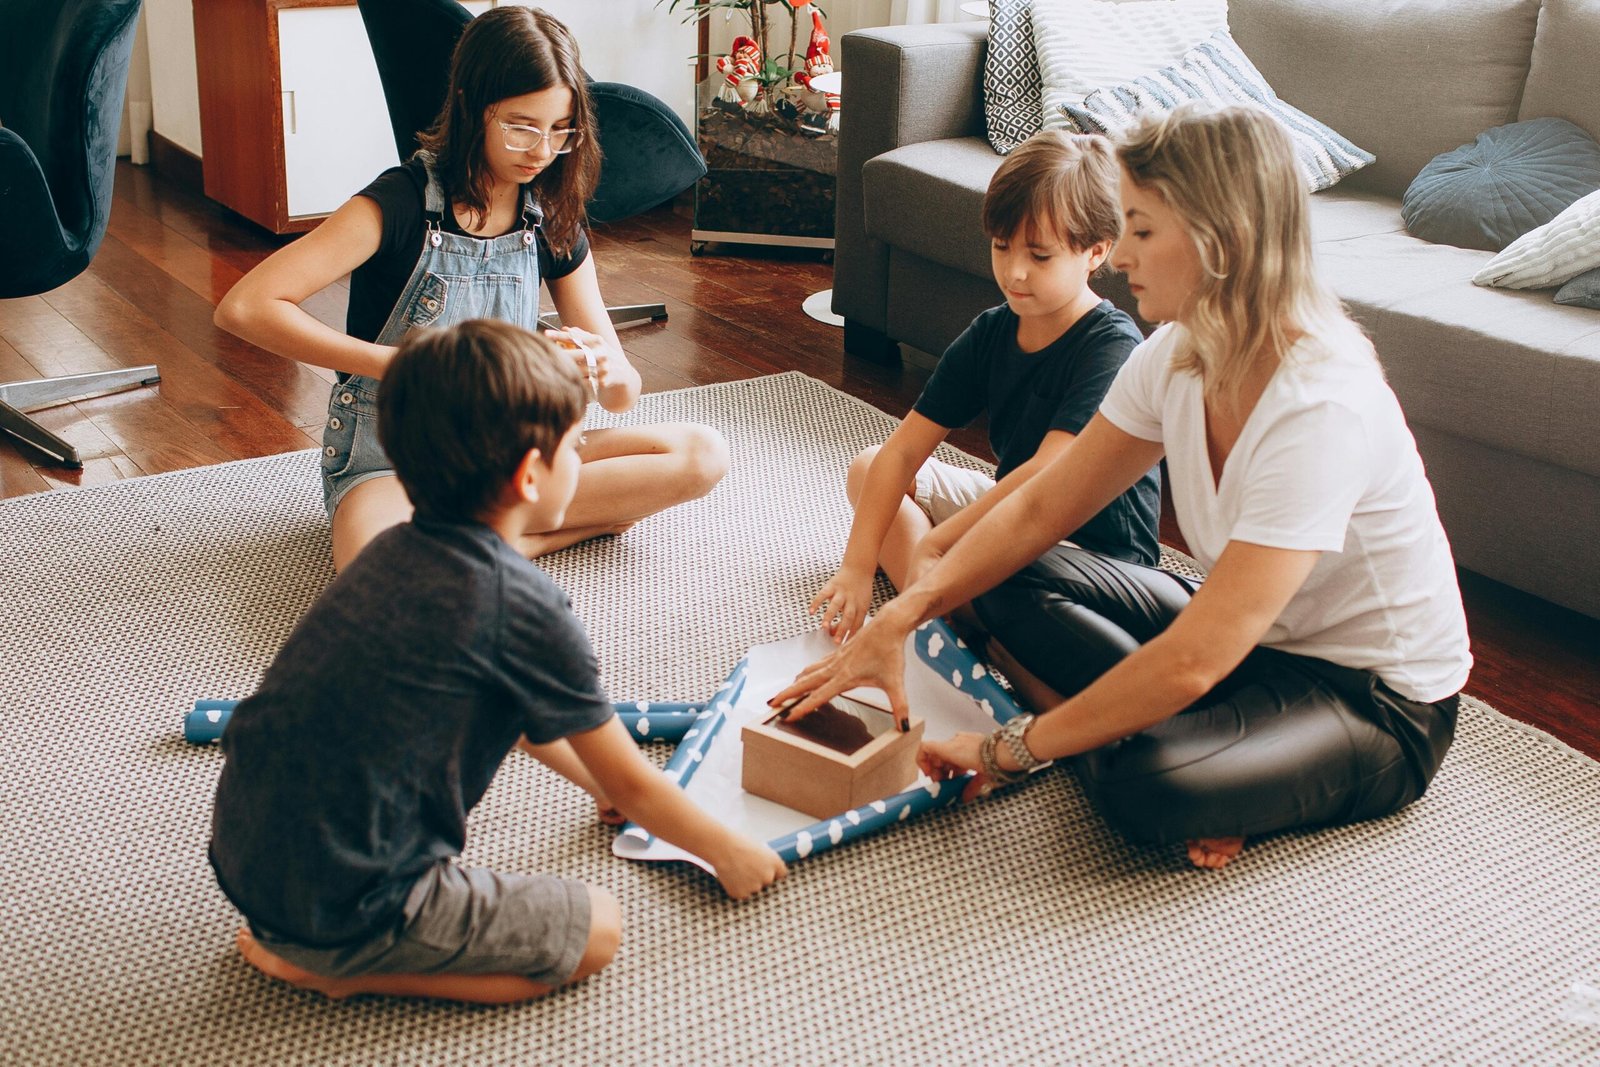
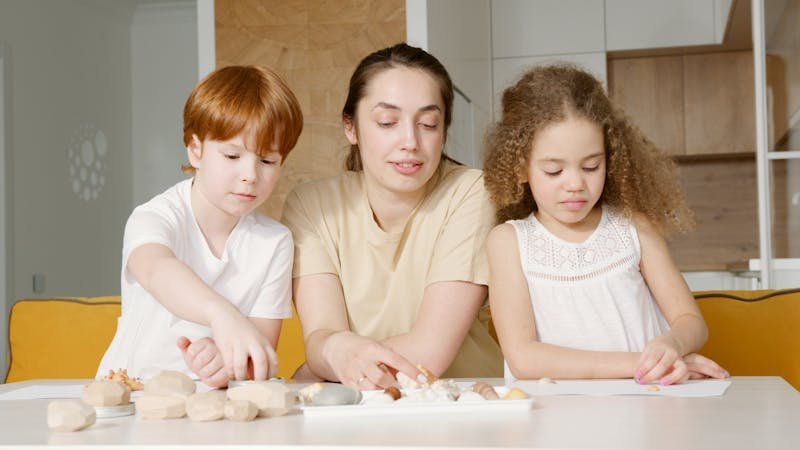
There's something magical about watching your child's face light up when they create something with their own hands. Whether you're looking for a rainy day activity or want to build a regular crafting routine, family-friendly crafts offer the perfect blend of fun, learning, and quality time together. The best part? You don't need expensive supplies or artistic talent to get started.

TL;DR – Quick Answer
Looking for family-friendly crafts? We've curated 75 age-appropriate projects from babies to tweens, requiring minimal supplies you likely already have at home. Most take 15-30 minutes and support developmental milestones while creating lasting memories. Start with sensory bins for babies, painting activities for toddlers, nature crafts for preschoolers, DIY projects for school-age kids, and upcycling creations for tweens. The key is matching complexity to ability and focusing on process over perfection.
What Are Family-Friendly Crafts?
Family-friendly crafts are creative activities designed to be accessible, enjoyable, and safe for children of various ages while encouraging family participation. Unlike complex art projects that require specialized skills or materials, these crafts prioritize the creative process and togetherness over producing perfect finished products.

The beauty of family-friendly crafts lies in their adaptability. A simple painting activity can be modified for a one-year-old exploring textures or a ten-year-old experimenting with color theory. What makes a craft truly family-friendly is its ability to accommodate different skill levels, keep everyone engaged, and create opportunities for collaboration rather than competition.
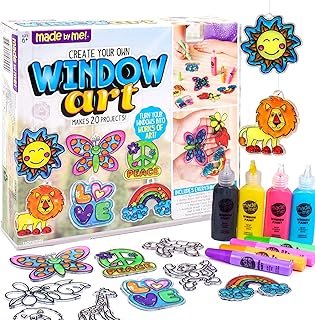
🎁 Top Picks for Your Family
As an Amazon Associate, we earn from qualifying purchases.
These activities typically use common household items or inexpensive craft supplies, making them accessible to families regardless of budget. From paper plate masks to recycled cardboard creations, family-friendly crafts prove that creativity flourishes with imagination, not expensive materials. They also tend to be low-prep and relatively mess-contained, understanding that busy parents need activities that don't require hours of setup or cleanup.
Why Crafting Together Matters for Child Development
The benefits of crafting with children extend far beyond keeping little hands busy. Research consistently shows that hands-on creative activities support multiple areas of child development simultaneously, making craft time an investment in your child's growth.
Fine motor skill development happens naturally as children manipulate scissors, glue sticks, paintbrushes, and small objects. These seemingly simple actions strengthen the hand muscles and hand-eye coordination essential for writing, self-care tasks, and countless other skills. For toddlers, tearing paper and squeezing glue bottles builds foundational strength. For school-age children, cutting intricate shapes or threading beads refines precision.
Cognitive development flourishes through crafting as children plan projects, solve problems, and think creatively. When your preschooler figures out how to attach wheels to their cardboard car or your tween calculates measurements for a DIY organizer, they're engaging in authentic problem-solving. Following multi-step craft instructions also builds executive function skills like planning, sequencing, and working memory.
Emotional regulation and self-expression find healthy outlets through creative activities. The repetitive motions of painting, cutting, or molding clay can be genuinely calming for children who feel overwhelmed. Crafts also provide a non-verbal way for children to express feelings they might not have words for yet, creating opportunities for meaningful conversations about their inner worlds.
Perhaps most importantly, family bonding deepens when you create together. Unlike passive entertainment, crafting invites conversation, collaboration, and shared accomplishment. These moments of focused attention communicate to your child that they're worthy of your time and interest, building secure attachment and positive self-esteem that last well beyond childhood.
How to Get Started with Family Crafting
Starting a crafting routine with your family doesn't require a dedicated art room or extensive preparation. With a few strategic approaches, you can make crafting a regular, enjoyable part of your family life.
Create a Simple Craft Station
Designate a specific area where craft supplies live and projects happen. This doesn't need to be elaborate—a plastic bin in the kitchen cupboard and a cleared section of the dining table work perfectly. Having supplies accessible means you can say yes to spontaneous creative moments without the barrier of digging through closets.
Essential starter supplies include construction paper, white paper, washable markers, crayons, child-safe scissors, glue sticks, and tape. Add a few specialty items like popsicle sticks, googly eyes, and pipe cleaners as you go. Many families find success with a “craft cart” on wheels that can be rolled out when needed and tucked away when done.
Embrace the Mess (With Smart Boundaries)
Let's be honest—crafting with kids gets messy. Instead of fighting this reality, prepare for it. Invest in a washable tablecloth or use an old shower curtain as a craft surface. Keep baby wipes handy for quick cleanups, and establish a “craft shirt” tradition where everyone wears old t-shirts that can get paint-splattered.
Set clear expectations about where crafting happens and how cleanup works. Even toddlers can help put caps back on markers or throw away paper scraps. Making cleanup part of the craft routine teaches responsibility and makes the whole experience more sustainable for busy parents.
Match Projects to Attention Spans
One of the biggest crafting frustrations happens when the project is too long or complex for a child's developmental stage. A three-year-old might have 10-15 minutes of focused craft time, while a nine-year-old might happily work for an hour. Start with shorter, simpler projects and let your child's interest guide how elaborate you get.
It's also perfectly fine to do projects in stages. Paint paper plates one day, let them dry, and add details the next day. This actually builds anticipation and gives children time to think creatively about next steps.
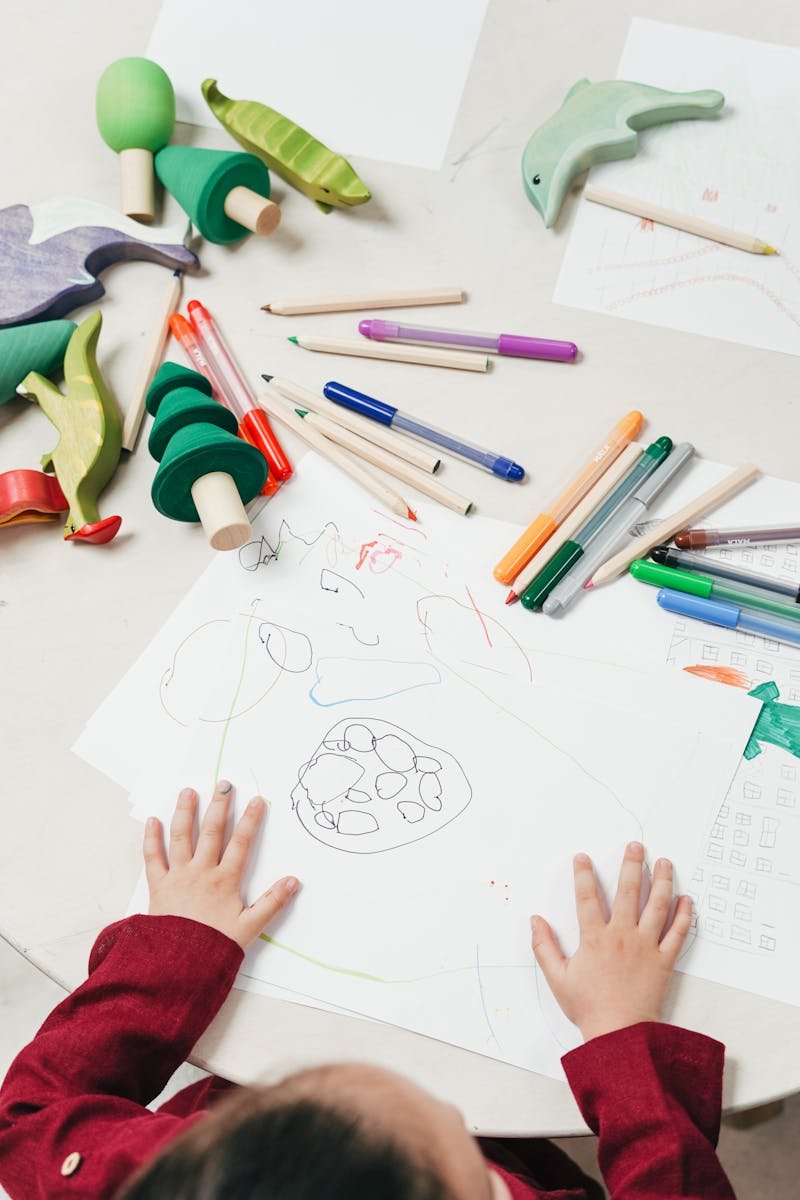
Focus on Process, Not Product
This is perhaps the most important mindset shift for successful family crafting. Your child's painting doesn't need to look like the Pinterest inspiration. The goal isn't creating museum-quality art—it's exploring materials, expressing creativity, and spending time together.
When you emphasize the process, you remove pressure and perfectionism. Comment on the choices your child makes (“I see you used lots of blue today” or “You're pressing really hard with that marker”) rather than judging the outcome (“That's so beautiful!”). This approach builds intrinsic motivation and genuine creative confidence.
75 Family-Friendly Crafts by Age Group
These projects are organized by age to help you quickly find appropriate activities for your child's developmental stage. Remember that every child develops differently—feel free to adapt any craft to match your child's unique interests and abilities.
Babies (0-12 Months): Sensory Exploration Crafts
For babies, “crafting” is really about safe sensory exploration. These activities introduce different textures, colors, and materials while you supervise closely. The goal is exposure and experience, not finished products.
- Edible Finger Paint: Mix plain yogurt with fruit puree for safe, taste-friendly “paint.” Let baby smear on high chair tray. Materials: yogurt, pureed berries, high chair tray
- Texture Board: Glue different fabrics (velvet, burlap, satin, corduroy) onto cardboard for baby to touch and explore. Materials: fabric scraps, cardboard, fabric glue
- Contact Paper Collage: Tape contact paper sticky-side-up to high chair tray, give baby lightweight items to stick (tissue paper, fabric scraps, feathers). Materials: clear contact paper, tape, lightweight items
- Sensory Bottles: Fill clear plastic bottles with water and add items like glitter, beads, or small toys. Seal tightly. Materials: plastic bottles, water, glitter, beads, super glue for seal
- Ribbon Pulling Box: Cut holes in a shoebox lid, thread colorful ribbons through, tie knots underneath so baby can pull but not remove completely. Materials: shoebox, ribbons, scissors
- First Scribbles: Tape large paper to high chair tray, give baby chunky crayons to explore mark-making. Materials: large paper, tape, chunky crayons
- Crinkle Painting: Paint a piece of paper, place plastic wrap over wet paint, let baby press and crinkle. Remove wrap when dry for textured art. Materials: paper, non-toxic paint, plastic wrap
- Nature Touch Box: Collect safe natural items (smooth rocks, pinecones, large shells) in a basket for supervised exploration. Materials: basket, natural items (large enough to be safe)
- Fabric Scrap Balls: Stuff colorful fabric scraps into clear knee-high stockings, tie off, let baby shake and explore. Materials: fabric scraps, clear stockings
- Water Bag Squishy: Fill a gallon ziplock with water and a few drops of food coloring, seal well, tape to table or floor for baby to press and watch colors move. Materials: ziplock bag, water, food coloring, duct tape
Toddlers (1-3 Years): Simple Creative Crafts
Toddlers are ready for more active participation in craft activities but still need projects with minimal steps and lots of sensory appeal. Focus on exploration and process-based activities where there's no wrong way to create.
- Dot Marker Painting: Use bingo daubers or dot markers on large paper for easy, satisfying art. Materials: dot markers, large paper
- Sticker Collage: Give toddlers sheets of stickers and paper to create freely. Peeling and sticking builds fine motor skills. Materials: variety of stickers, construction paper
- Play Dough Creations: Offer homemade or store-bought play dough with simple tools (plastic knife, rolling pin, cookie cutters). Materials: play dough, plastic tools
- Tape Resist Art: Apply masking tape to paper in simple patterns, let toddler paint over everything, remove tape when dry. Materials: masking tape, paper, washable paint, brushes
- Torn Paper Collage: Provide colorful paper for tearing (great for little fingers not ready for scissors), then glue pieces onto background paper. Materials: colorful paper, glue stick, background paper
- Stamping with Kitchen Items: Use cookie cutters, potato mashers, or cut vegetables as stamps with washable paint. Materials: kitchen items, washable paint, paper
- Contact Paper Window Clings: Cut contact paper into shapes, let toddler add tissue paper pieces to sticky side, place on window. Materials: contact paper, tissue paper, scissors
- Pasta Necklaces: String large pasta shapes (penne, rigatoni) onto yarn for wearable art. Materials: large pasta, yarn, tape (to stiffen end)
- Bubble Wrap Painting: Wrap bubble wrap around a rolling pin or toddler's feet, dip in paint, roll or walk on paper. Materials: bubble wrap, paint, large paper
- Nature Collage: Collect leaves, flowers, and grass on a walk, glue onto paper. Materials: natural items, glue, paper
- Q-tip Painting: Use cotton swabs as paintbrushes for dotted artwork that's easy for small hands to control. Materials: cotton swabs, paint, paper
- Paper Plate Masks: Draw or glue features onto paper plates, attach popsicle stick handle. Materials: paper plates, markers, glue, popsicle sticks
- Spray Bottle Art: Fill spray bottles with diluted washable paint, let toddler spray paper taped to fence or easel outside. Materials: spray bottles, washable paint, water, large paper
- Egg Carton Caterpillars: Cut egg carton into strips, let toddler paint and add googly eyes. Materials: egg cartons, paint, googly eyes, glue
- Handprint Art: Paint toddler's hand, press onto paper, add details to create animals or flowers. Materials: washable paint, paper, markers for details
Preschool (3-5 Years): Beginning Skill-Building Crafts
Preschoolers are developing better fine motor control and can follow simple multi-step instructions. They enjoy crafts with clear outcomes and love to give their creations as gifts.
- Paper Bag Puppets: Decorate paper lunch bags with markers, construction paper, and googly eyes to create puppet characters. Materials: paper bags, markers, construction paper, googly eyes, glue
- Coffee Filter Butterflies: Color coffee filters with washable markers, spray with water, let dry, pinch center and add pipe cleaner for body. Materials: coffee filters, markers, spray bottle, pipe cleaners
- Popsicle Stick Picture Frames: Glue popsicle sticks together in square, decorate, add photo. Materials: popsicle sticks, glue, decorations, photo
- Salt Dough Ornaments: Mix 2 cups flour, 1 cup salt, 1 cup water, shape, bake at 200°F until hard, paint when cool. Materials: flour, salt, water, cookie cutters, paint
- Cardboard Tube Animals: Transform toilet paper rolls into animals with paint, construction paper ears/tails, and googly eyes. Materials: cardboard tubes, paint, construction paper, googly eyes, glue
- Painted Rock Creatures: Collect smooth rocks, paint with designs or faces, seal with Mod Podge. Materials: rocks, acrylic paint, Mod Podge, brushes
- Paper Plate Sun Catchers: Cut out center of paper plate, cover with contact paper sticky-side-up, add tissue paper pieces, seal with another layer. Materials: paper plates, contact paper, tissue paper
- Beaded Pipe Cleaner Flowers: Thread beads onto pipe cleaners, twist to create flower shapes. Materials: pipe cleaners, beads
- Handprint Wreath: Trace and cut multiple handprints from green paper, arrange in circle on paper plate for seasonal wreath. Materials: green paper, paper plate, glue, decorations
- Yarn-Wrapped Letters: Cut large letter shapes from cardboard, wrap with colorful yarn. Materials: cardboard, yarn, tape or glue to start
- Rainbow Pasta Sorting: Dye pasta with food coloring and rubbing alcohol, let dry, sort by color and create patterns. Materials: pasta, food coloring, rubbing alcohol, ziplock bags
- Paper Chain Countdown: Create paper chains for counting down to special events. Materials: construction paper strips, glue or tape
- Cupcake Liner Flowers: Flatten cupcake liners, layer and glue together with button centers, attach to straws or pipe cleaners. Materials: cupcake liners, buttons, glue, straws or pipe cleaners
- Cardboard Box Fort: Use large boxes, markers, and imagination to create playhouses or cars. Materials: large cardboard boxes, markers, tape
- Tissue Paper Suncatchers: Cut shapes from black construction paper, cover with tissue paper squares and glue, hang in window. Materials: black construction paper, tissue paper, glue, string
School-Age (6-9 Years): Detailed Craft Projects
School-age children can handle more complex instructions, use real scissors safely, and enjoy projects that result in functional items. They're also developing their own creative preferences and ideas.
- Origami Animals: Learn basic origami folds to create simple animals like frogs, dogs, or cranes. Materials: origami paper or square paper, instructions
- Friendship Bracelets: Teach basic braiding or knotting techniques with embroidery floss. Materials: embroidery floss, tape or clipboard
- Homemade Slime: Mix glue, water, and borax solution for sensory play (adult supervision required). Materials: white glue, water, borax, food coloring, bowl
- Perler Bead Designs: Arrange plastic beads on pegboards, iron between parchment paper to fuse. Materials: Perler beads, pegboards, parchment paper, iron (adult uses)
- Painted Flower Pots: Decorate terracotta pots with acrylic paint and plant herbs or flowers. Materials: terracotta pots, acrylic paint, plants, soil
- Comic Strip Creation: Fold paper into panels and create original comic stories. Materials: paper, markers, ruler
- Tin Can Organizers: Clean and decorate tin cans with paint or paper to create desk organizers. Materials: clean tin cans, paint or decorative paper, glue
- Dream Catchers: Create simple dream catchers with paper plates, yarn, and feathers. Materials: paper plates, yarn, beads, feathers, hole punch
- Melted Crayon Art: Glue crayons to canvas, use hair dryer to melt and create drip art (adult supervision). Materials: crayons, canvas, hot glue gun, hair dryer
- Homemade Bath Bombs: Mix baking soda, citric acid, and essential oils in molds. Materials: baking soda, citric acid, essential oils, molds, spray bottle
- Woven Paper Placemats: Cut slits in construction paper, weave contrasting strips through. Materials: construction paper, scissors, glue
- Nature Prints: Collect leaves or flowers, paint one side, press onto paper for detailed prints. Materials: natural items, paint, paper, brayer or rolling pin
- Cardboard Marble Maze: Create maze pathways with cardboard strips glued inside a box lid. Materials: box lid, cardboard strips, glue, marbles
- Sock Puppets: Transform old socks into characters with felt, buttons, and yarn. Materials: clean socks, felt, buttons, yarn, fabric glue
- Painted Canvas Quotes: Letter inspirational quotes on small canvases with paint markers. Materials: small canvases, paint markers, pencil for planning
- Pom-Pom Animals: Make pom-poms from yarn, attach googly eyes and felt features. Materials: yarn, pom-pom maker or cardboard, googly eyes, felt, glue
- Bookmarks: Create decorative bookmarks from cardstock with drawings, washi tape, or pressed flowers sealed with contact paper. Materials: cardstock, decorating supplies, contact paper or laminator
- Wind Chimes: Hang shells, beads, or small bells from a stick or embroidery hoop. Materials: stick or hoop, string, decorative items, bells
- Collage Self-Portraits: Create self-portraits using magazine cutouts and mixed media. Materials: magazines, scissors, glue, paper, drawing supplies
- Painted Kindness Rocks: Paint rocks with positive messages and hide around neighborhood. Materials: smooth rocks, acrylic paint, sealer

Tweens (10-12 Years): Advanced Creative Projects
Tweens are ready for projects that feel more “grown-up” and functional. They appreciate crafts they can actually use, display in their rooms, or give as thoughtful gifts.
- Tie-Dye Clothing: Use fabric dye and rubber bands to create custom patterns on t-shirts, pillowcases, or tote bags. Materials: white fabric items, fabric dye, rubber bands, gloves, buckets
- Embroidered Patches: Learn basic embroidery stitches to create custom patches for clothing or bags. Materials: embroidery hoop, fabric, embroidery floss, needles, pattern
- Jewelry from Shrink Plastic: Draw designs on shrink plastic, bake according to instructions, add jewelry findings. Materials: shrink plastic sheets, colored pencils, oven, jewelry findings
- Macramé Plant Hangers: Learn basic macramé knots to create hanging planters. Materials: macramé cord, ring, plant pot
- Custom Phone Cases: Decorate clear phone cases with dried flowers, stickers, or paint sealed inside. Materials: clear phone case, decorations, Mod Podge or resin
- Upcycled Denim Projects: Transform old jeans into bags, pencil cases, or decorative items. Materials: old jeans, scissors, sewing supplies or fabric glue
- Polymer Clay Sculptures: Create detailed figures or jewelry from polymer clay, bake according to instructions. Materials: polymer clay, sculpting tools, oven
- String Art: Hammer nails into wood in pattern outline, wrap string around nails to create geometric or word designs. Materials: wood board, nails, hammer, embroidery floss or string
- Homemade Candles: Melt wax, add scents and colors, pour into containers with wicks. Materials: wax, wicks, containers, essential oils, double boiler
- Vision Board Collage: Create motivational collages with magazine cutouts, photos, and inspirational quotes. Materials: poster board, magazines, scissors, glue, photos
- Painted Jean Jacket: Customize denim jacket with fabric paint or bleach designs. Materials: denim jacket, fabric paint or bleach, brushes, stencils
- Resin Jewelry: Pour colored resin into molds with dried flowers or glitter for unique jewelry pieces. Materials: resin kit, molds, dried flowers, glitter, jewelry findings
- Bullet Journal Spreads: Learn hand lettering and design custom planner pages. Materials: journal, fine-tip markers, ruler, washi tape
- Needle Felted Animals: Use felting needles to sculpt wool into 3D animal figures. Materials: wool roving, felting needles, foam pad
- Decorative Cork Board: Cover cork board with fabric, add ribbon grid for hanging photos and notes. Materials: cork board, fabric, ribbon, hot glue gun, push pins
Common Challenges and Solutions
Even with the best intentions, family crafting comes with predictable challenges. Here's how to handle the most common obstacles.
Challenge: “My child loses interest halfway through.”
Solution: The project might be too long or complex for their current attention span. Choose shorter activities, or break longer projects into stages done on different days. It's also fine to let children stop when they're done—not every project needs to be completed. Sometimes the exploration is the point.
Challenge: “The mess stresses me out too much.”
Solution: Contain the chaos with strategic boundaries. Designate a specific craft area, use washable supplies, and keep cleanup materials within reach. Move messier projects outside when weather allows. Remember that the mess is temporary, but the memories and skills last.
Challenge: “My child wants to do it ‘wrong.'”
Solution: Shift your mindset from following instructions to encouraging creativity. If your child wants to paint the sky purple or glue pom-poms randomly instead of in the suggested pattern, that's not wrong—it's creative exploration. Save structured instruction-following for when they're older and specifically learning a technique.
Challenge: “Siblings are at different skill levels.”
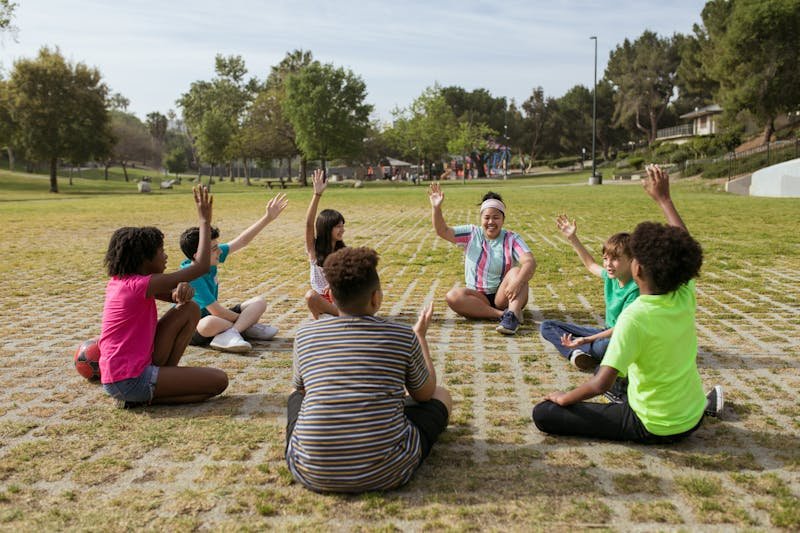
Solution: Choose projects that can be modified for different ages. While your tween creates an elaborate friendship bracelet, your preschooler can thread large beads on pipe cleaners. Or do separate projects at the same table so everyone feels included but challenged appropriately.
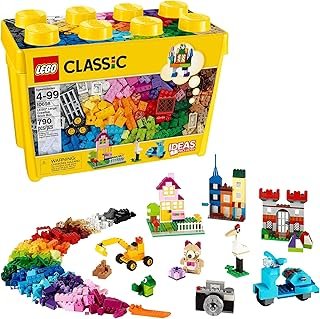
🎁 More Great Options
As an Amazon Associate, we earn from qualifying purchases.

Challenge: “I don't feel creative or artistic enough.”
Solution: You don't need to be artistic to facilitate craft activities. Your role is providing materials and encouragement, not demonstrating perfect technique. In fact, being imperfect shows your child that creativity is about process and effort, not innate talent.
Expert Tips for Family Crafting Success
After years of crafting with children, here are the insights that make the biggest difference in creating positive, sustainable crafting experiences.
Prepare more than you think you need. Have extra supplies on hand. If you have one paintbrush and two children, you're setting up for conflict. Multiple options and backup supplies prevent frustration and keep the creative flow going.
Set up a “proudly display” system. Create designated spaces to showcase finished crafts, whether that's a bulletin board, shelf, or rotating gallery on the refrigerator. When children see their creations valued and displayed, they're more motivated to keep creating.
Take photos before recycling. You can't keep every craft your child makes without being buried in paper plate animals. Take photos of projects before recycling them, creating a digital archive your child can look back on. This honors their work while managing physical clutter.
Craft alongside them. Make your own project while your child makes theirs. This models that creativity is for everyone and keeps you engaged without hovering. You'll also better understand the challenges of the activity when you're doing it yourself.
Create a “craft emergency kit.” Keep a small bin of craft supplies and quick project ideas for unexpected situations—sick days, canceled plans, or long waits. Having these ready removes barriers to spontaneous creativity.
Follow their interests. Pay attention to what excites your child and seek crafts that align with those interests. A child obsessed with dinosaurs will engage more deeply with fossil-making crafts than generic painting projects.
Build in reflection time. After completing a project, ask your child what they enjoyed, what was challenging, or what they might do differently next time. This metacognitive conversation builds problem-solving skills and helps you choose better projects in the future.
Tools and Resources for Family Crafting
Having the right supplies on hand makes family crafting more accessible and less stressful. You don't need expensive specialty items to get started, but investing in a basic supply collection pays dividends in creative opportunities.
Essential starter supplies: Begin with basics you'll use repeatedly—construction paper in multiple colors, white copy paper, washable markers, crayons, child-safe scissors (different sizes for different ages), glue sticks, white school glue, and tape. These versatile supplies support hundreds of different projects.
Next-level additions: As you craft more regularly, add paint (tempera or washable acrylics), paintbrushes in various sizes, pipe cleaners, popsicle sticks, googly eyes, pom-poms, beads, yarn, and play dough. These specialty items open up new project categories without breaking the budget.
Storage solutions: Invest in clear storage containers so children can see what's available. Label containers with words and pictures for younger children. A rolling cart or caddy makes supplies portable and keeps everything organized. Many families find success with divided containers that sort supplies by type.
🛒 Essential Craft Supplies for Every Age
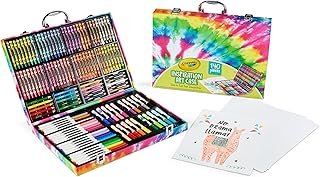
Crayola Inspiration Art Case (140 Pieces)
Ultimate art set with crayons, colored pencils, and markers in a portable case
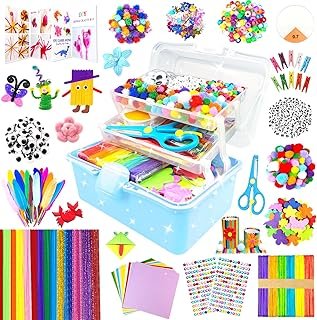
Arts and Crafts Supplies Kit
1000+ piece kit with pipe cleaners, pom poms, googly eyes, and more
As an Amazon Associate, we earn from qualifying purchases. Prices updated regularly.
Free resources to explore: Before buying new supplies, look around your home for craft materials. Cardboard boxes, egg cartons, toilet paper rolls, bottle caps, old magazines, fabric scraps, and natural items from outside cost nothing and inspire creative reuse. Teaching children to see everyday items as craft supplies develops resourcefulness.
Inspiration sources: When you need project ideas, library books about kids' crafts offer screen-free browsing. Pinterest boards dedicated to age-specific crafts can be helpful but remember that elaborate Pinterest projects aren't necessary—simple is often better. Follow a few family-focused craft bloggers who emphasize process over perfection.
Frequently Asked Questions
What age can children start using scissors safely?
Most children develop the fine motor skills for scissors between ages 3-4, though this varies individually. Start with safety scissors designed for preschoolers and always supervise. Begin with cutting play dough or easy-to-cut materials before advancing to paper. Teaching proper scissor grip and cutting technique takes time—be patient and never force readiness.
How do I remove paint and marker stains from clothing?
For washable markers and paints, rinse immediately with cold water and treat with regular detergent before washing. For permanent markers, try rubbing alcohol or hand sanitizer applied to the stain before washing. The key is acting quickly—dried stains are much harder to remove. This is why many families adopt “craft clothes” that can get messy without worry.
Are expensive craft kits worth buying?
Craft kits can be convenient for special occasions or when you're new to crafting and want everything included, but they're not necessary for regular family crafting. Most kits can be recreated more affordably with basic supplies, and open-ended crafting with simple materials often provides more creative learning than following kit instructions. Save kits for gifts or times when convenience is worth the extra cost.
How can I make crafting work with a tight budget?
Focus on found and recycled materials—cardboard, paper bags, natural items, magazine pages, and household objects. Buy basic supplies from dollar stores or in bulk from big-box stores. Join local “buy nothing” groups where families often share or give away craft supplies. Some libraries have “craft supply exchanges” or lend materials. Creativity flourishes with constraints, and budget-friendly crafting teaches resourcefulness.
My child wants to craft constantly—how much is too much?
If your child is engaged, happy, and wanting to craft frequently, that's wonderful! There's no such thing as too much creative play. Just ensure they're also getting physical activity, outdoor time, and social interaction. If crafting becomes a way to avoid other important activities or if they're frustrated when not crafting, help them develop a balanced schedule with designated craft times they can look forward to.
How do I teach my child to clean up without nagging?
Build cleanup into the craft routine from the beginning so it's part of the activity, not a separate chore. Set a timer for “cleanup time” and make it a game—can we put all the markers back before the song ends? Provide child-sized cleanup tools like small brooms and spray bottles. Most importantly, clean up alongside your child rather than just directing. When cleanup is collaborative and expected, it becomes habitual.
Should I display all my child's artwork?
Displaying some artwork shows you value their creativity, but you don't need to keep everything. Rotate displays regularly, taking photos of pieces before recycling them. Let your child choose their favorites to display or give as gifts. Some families create “art portfolios” where they save a few special pieces from each year. The goal is honoring their work without being overwhelmed by volume.
Creating Lasting Memories Through Family Crafts
The real magic of family-friendly crafts isn't in the finished products—though those painted rocks and popsicle stick frames are treasures—but in the time spent creating together. When you craft with your children, you're communicating that they're worth your focused attention, that their ideas matter, and that creativity is a valuable part of life.
Years from now, your child probably won't remember whether the paper plate mask looked exactly like the example or if the paint stayed inside the lines. But they'll remember how it felt to create alongside you, the conversations you had while your hands were busy, and the pride of making something with their own hands. They'll carry forward the confidence that comes from trying new things, the problem-solving skills developed through creative challenges, and the knowledge that their ideas have value.
Start small, embrace the mess, focus on connection over perfection, and watch creativity flourish in your home. The materials are simple, the time investment is manageable, and the memories you're creating will last a lifetime.
Ready to start crafting? Choose one age-appropriate project from this guide, gather your supplies, and dedicate 30 minutes to creating together this week. You don't need Pinterest-perfect results or expensive materials—just curiosity, basic supplies, and time together. Your future self will be grateful you started this creative tradition with your family.
Related Articles
- The Ultimate Guide to Sibling Conflict
- The Ultimate Guide to Family Meal Planning
- The Ultimate Guide to Kids Educational Games
- 20 Fun DIY Crafts to Strengthen Family Bonds
- The Ultimate Guide to Screen Time Management

Written by Sarah Mitchell, M.S., CFLE
Founder & Lead Editor
Sarah is a Certified Family Life Educator with a Master's degree in Human Development and Family Studies from the University of Missouri. With 15+ years of experience as a parent educator and mother of three, she brings both professional expertise and real-world parenting wisdom to every article.
Credentials: M.S. in Human Development and Family Studies, Certified Family Life Educator (CFLE)