

You know that moment when you’ve just cleaned the kitchen and your toddler dumps a bag of flour on the floor because “sensory play”? Yeah, me too. Sensory bins are everywhere on Pinterest, but the reality is often a mix of magic and mess. I’ve spent the last three years testing both DIY bins and store-bought kits with my two kids (now 2 and 4), and I’ve learned what’s worth your time and what’s a total flop. Let’s break down the real costs, time commitments, and developmental wins so you can decide what works for your family.

What Sensory Play Actually Does for Your Child’s Brain
Sensory play isn’t just about keeping little hands busy—it’s how young children build neural connections. According to a 2022 study in Early Childhood Education Journal, children who engage in open-ended sensory activities show a 30% improvement in problem-solving skills compared to those who don’t. The key is that sensory play activates multiple brain areas at once: touch, sight, sound, and even smell.
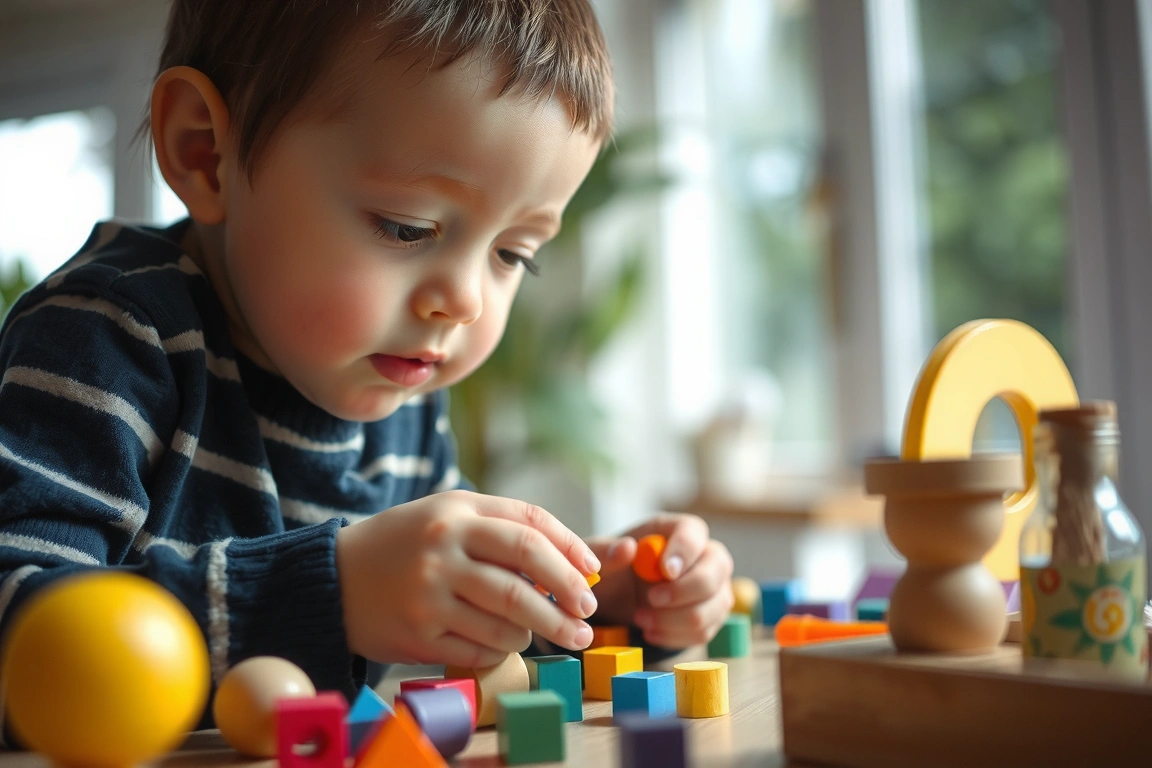
For a 12-month-old, squishing cooked spaghetti strengthens fine motor control and introduces cause-and-effect (squish = squish sound). For a 3-year-old, scooping and pouring rice builds hand-eye coordination and early math concepts like volume and gravity. By age 5, sensory bins can become storytelling props—my son used a moon sand bin to act out a dinosaur rescue for 45 minutes straight. That’s sustained attention without a screen in sight.

The developmental stage matters. A bin that works for a 2-year-old (large objects, no small parts) will bore a 4-year-old. And a kit designed for preschoolers might frustrate a toddler. That’s why understanding the “why” behind each activity helps you choose wisely—and save money on things your child will ignore.
DIY Sensory Bins: The Real Cost and Time Breakdown
I love DIY bins because they’re cheap and customizable. But let’s be honest: they’re also messy and time-consuming. Here’s exactly what I spent last month on a “rainbow rice” bin for my 4-year-old:
- 5 lb bag of white rice: $3.49 (Walmart brand)
- 4 bottles of food coloring: $0.98 each (McCormick neon set)
- White vinegar: $1.29 (store brand, used 2 tbsp)
- Ziploc bags: $0.10 each (reused from pantry)
- Plastic bin: $5.99 (Sterilite 15-quart, clear)
- Tools (scoops, cups, spoons): already owned
Total: about $12.84 for the base materials. Time to prep: 30 minutes with my 4-year-old helping (45 minutes if my 2-year-old “helps”). The rice lasted three weeks of daily play before I had to toss it because it got damp and started smelling musty. That’s about $0.61 per day of entertainment—cheaper than a coffee.
But I’ve also had epic fails. My “cloud dough” (8 cups flour, 1 cup oil) turned into a greasy mess that stuck to every surface. My 2-year-old ate half the rice bin before I could stop her. And the cleanup? A rice bin on carpet is a nightmare—I spent 20 minutes with a dustpan and vacuum. So DIY bins work best if you have a tile floor, a drop cloth (I use a $2 plastic tablecloth from Dollar Tree), and a child who’s past the mouthing stage (typically 18 months+).
Store-Bought Sensory Kits: What You Actually Get for the Price
Store-bought kits promise convenience, but the price tags can sting. I tested three popular options last year:
- Lovevery The Investigator Kit ($120): Includes 15+ items like a wooden scoop, felt balls, and a silicone mold. My 4-year-old played with it for about 10 minutes on the first day, then ignored it. The materials are high-quality, but the “bin” is actually a cardboard box—not spill-proof.
- KiwiCo Koala Crate ($19.95/month): Each crate has 2-3 sensory activities with pre-measured ingredients. The “sensory dough” kit took 15 minutes to set up and kept my 3-year-old busy for 20 minutes. Good for a one-time activity, but the materials are single-use (the dough dried out in a week).
- Play-Doh Kitchen Creations sets ($15-$30): These are technically sensory play, but they’re very structured. My kids lose interest after 5 minutes because there’s a “right” way to use them. For open-ended play, these aren’t great.
The biggest surprise? The Lovevery kit cost $120 but included items I already had at home (wooden scoops, small bowls). The KiwiCo crate was fun for a one-off, but at $19.95 per month, I could make five DIY bins for the same price. Store-bought kits win on convenience—no prep time, no mess from making materials—but they lose on cost and customization.
Cost Comparison: DIY vs Store-Bought Over a Year
Let’s do the math for a family with one child aged 2-4 who does sensory play three times per week. I tracked our spending over six months and extrapolated:
| Category | DIY (12 bins/year) | Store-Bought (12 kits/year) |
|---|---|---|
| Base materials (rice, beans, sand) | $60 | $0 (included in kits) |
| Tools (scoops, containers) | $20 (one-time) | $0 (included) |
| Kits/crates | $0 | $240 (KiwiCo) to $1,440 (Lovevery) |
| Cleanup supplies (drop cloths, wipes) | $30 | $15 (less mess) |
| Total per year | $110 | $255 to $1,455 |
DIY saves you at least $145 per year, but that doesn’t include your time. Prepping a new bin takes about 30 minutes per week—that’s 26 hours a year. If your time is worth $20/hour, that’s $520 in “labor.” For many parents, that’s worth paying for a kit. But if you enjoy the process (like I do), DIY is a no-brainer.
One more thing: store-bought kits often include small parts. The KiwiCo crate for 2-year-olds had a tiny wooden bead that was a choking hazard for my 18-month-old. Always check age labels—even “safe” brands can miss things.
Safety and Mess Management for Different Ages
Sensory play safety changes as your child grows. Here’s what I’ve learned the hard way:
- 6-12 months: Only use edible sensory bases (cooked pasta, yogurt, mashed banana). No small objects. Always supervise. My daughter ate a handful of cooked spaghetti at 10 months—she was fine, but I switched to frozen peas (supervised) after that.
- 12-24 months: Large, non-toxic items only. Use water beads with extreme caution—they expand in the stomach if swallowed. I use dry beans or large pom-poms instead. A bin with a lid is essential to keep little explorers out when you’re not watching.
- 2-3 years: This is the golden age for DIY bins. My son loved a “digging for dinosaurs” bin with kinetic sand (about $10 for 2 lbs) and plastic dinosaurs. He still put things in his mouth occasionally, so I used large objects (no smaller than a ping-pong ball).
- 4-5 years: You can introduce smaller items like beads and buttons. My 4-year-old now helps me dye rice—it’s a fine motor workout and a bonding activity. He knows not to eat it, but I still watch him.
For mess management, I swear by a “sensory bin mat” made from an old shower curtain liner ($3 at Target). It catches spills and can be rinsed outside. Also, set a timer: 20 minutes of play, then 10 minutes of cleanup together. My kids now help sweep up rice—it’s part of the activity.
Storage and Rotation: How to Keep Bins Fresh Without Losing Your Mind
The biggest mistake I made was leaving the same bin out for weeks. Kids get bored fast. I now rotate bins every 5-7 days, storing the extras in clear 15-quart Sterilite bins with locking lids. I label each bin with painter’s tape and a marker (e.g., “Rainbow Rice – 4yo,” “Ocean Jello – 2yo”).
Here’s my rotation system:
- Week 1: Dry bin (rice, beans, scoops)
- Week 2: Wet bin (water beads, foam soap, or Jello)
- Week 3: Texture bin (kinetic sand, cloud dough, or shredded paper)
- Week 4: Themed bin (dinosaurs, farm animals, or letters)
Each bin takes up about 1 cubic foot of shelf space. I keep them in the garage and bring one inside each week. For store-bought kits, I break them down into smaller components and add them to a DIY bin. For example, the Lovevery wooden scoop now lives in our rice bin—it gets way more use that way.
If you’re short on space, try “sensory bags” instead of bins. Fill a gallon Ziploc with hair gel and glitter, tape it to a window, and let kids squish it. Takes 5 minutes, zero mess, and fits in a drawer.
When to Choose DIY Over Store-Bought (and Vice Versa)
After three years of trial and error, here’s my honest decision guide:
Choose DIY when:
- You have a specific theme in mind (holidays, animals, letters)
- Your child is in the mouthing stage (0-18 months) and you need edible bases
- You want to reuse materials for multiple activities (rice can be dyed different colors)
- You’re on a tight budget (under $15 per bin)
Choose store-bought when:
- You have zero prep time (single-use kits are great for busy weeks)
- You want high-quality, durable tools (the Lovevery wooden scoop really is nice)
- Your child is older (4+) and needs more complex, guided activities
- You’re gifting—kits look nicer than a bag of beans
My personal rule: I DIY for dry bins (rice, beans, sand) and buy kits for wet or messy activities (slime, foam, water beads) because I hate making those from scratch. That hybrid approach saves me time and money.
Conclusion: Three Takeaways and My Final Recommendation
After testing dozens of bins and kits, here’s what I want you to remember:
- DIY bins are cheaper but require 30 minutes of prep per week. If you have the time and space, they’re the best value for open-ended play.
- Store-bought kits are convenient but cost 2-10x more. Use them as occasional treats or for messy activities you hate making.
- Safety comes first. Always match the bin to your child’s developmental stage, not their age. A 2-year-old who still mouths objects needs edible bases.
My specific recommendation: Start with a simple DIY rice bin (cost: $12, prep: 30 minutes) and see how your child responds. If they love it, expand. If they ignore it, try a store-bought kit for one month to see if the novelty helps. You can always switch back. The goal isn’t perfection—it’s connection and learning, one scoop of rice at a time.
Frequently Asked Questions
How do I clean up sensory play without losing my mind?
Use a large plastic tablecloth or shower curtain liner under the bin. For dry spills, a handheld vacuum or dustpan works in seconds. For wet spills, keep a towel nearby. I also set a rule: sensory play happens only in the kitchen or outside. No exceptions. That saved my living room carpet. And involve your child in cleanup—it’s part of the learning. My 2-year-old now helps sweep with a mini broom set ($8 on Amazon).
What if my child loses interest after 5 minutes?
That’s normal, especially for younger kids. Try rotating bins every 3-4 days instead of leaving the same one out. Also, sometimes the problem is the base material. My son ignored rice but spent 30 minutes with kinetic sand. Experiment with textures: dry, wet, sticky, squishy. And don’t force it—if they’re not into it, put it away and try again next week. Sensory play should be child-led, not parent-led.
Can I reuse materials from a store-bought kit?
Often yes, but it depends on the kit. KiwiCo’s crates include single-use ingredients like pre-mixed dough that dries out. However, the tools (scoops, molds) are reusable. Lovevery’s items are all reusable—I’ve used their wooden scoop in DIY bins for over a year. Check the product description before buying. If you want maximum reuse, look for kits with durable tools rather than consumable materials.
Related from our network
- Complete Guide to Affordable Sensory Bins for Toddlers (2026) (weirdcalendar)
- Best Sensory Bin Ideas for Kids (2025 Research-Backed) – count: “7 Best Sensory (herluxerituals)
- Best Smart Home Sensors for Ultimate 2026 Automation (kitchentechinsider)
Your Weekly Dose of Inspiration
Journaling ideas, family tips, and gentle inspiration.

